Agentforce is already powerful at automating tasks and answering queries using your Salesforce data. But in some use cases, you might need answers that aren’t stored in your CRM but are happening right now in the real world.
That’s where Salesforce stepped up.
With the Summer ’25 release, it officially introduced Web Search in the Agentforce Data Library, allowing agents to fetch information directly from the public web and deliver grounded, real-time responses.
By setting up a Web Search Data Library, you can make your AI agents smarter and more reliable.
In this guide today, we will walk you through the steps to add the web search in Agent Force. Here we go!
Prerequisites for Agentforce Web Search
Enabling web search in Agentforce is pretty simple. But before you do that, make sure
- Einstein Generative AI is enabled.
- Data Cloud is activated.
- You have the appropriate admin permissions.
These are essential for creating a data library.
Step-by-Step Guide to enable web search in Agentforce
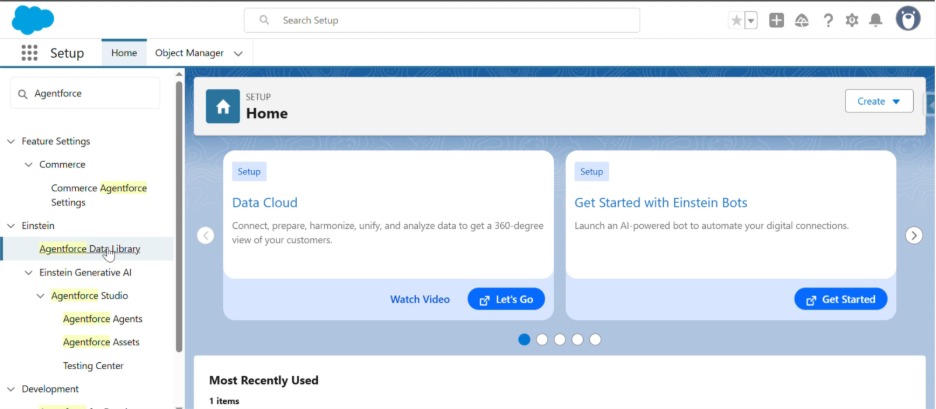
Step 1: Open the Agentforce Data Library Setup
To configure your web data source, first go to setup. Type Agentforce Data Library in the Quick Find and open it.
Step 2: Creating Web Search Data Library
Now, add a new data library and populate the details as below:
- Name of the data library. Here in the example, it’s Web Search Knowledge
- API Name: Web_Search_Knowledge
- Add Description & Save

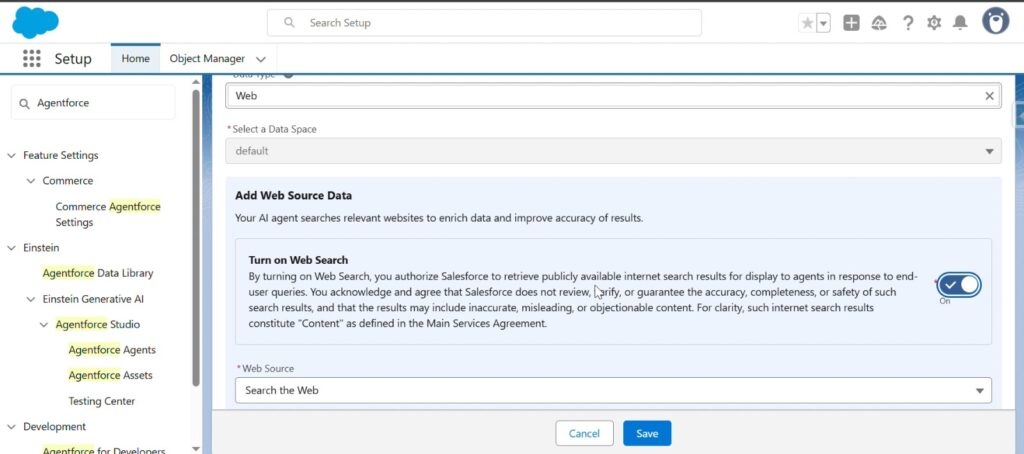
Step 3: Activating and Assigning it to the Features
After adding the data library, it’s time to assign it to the features and activate the library.
On the library setup, go to Add Data Sources
- Select Webas the data type from the dropdown
- Turn the Web search toggle on
- Choose Search the web as the Web source from the dropdown
Save
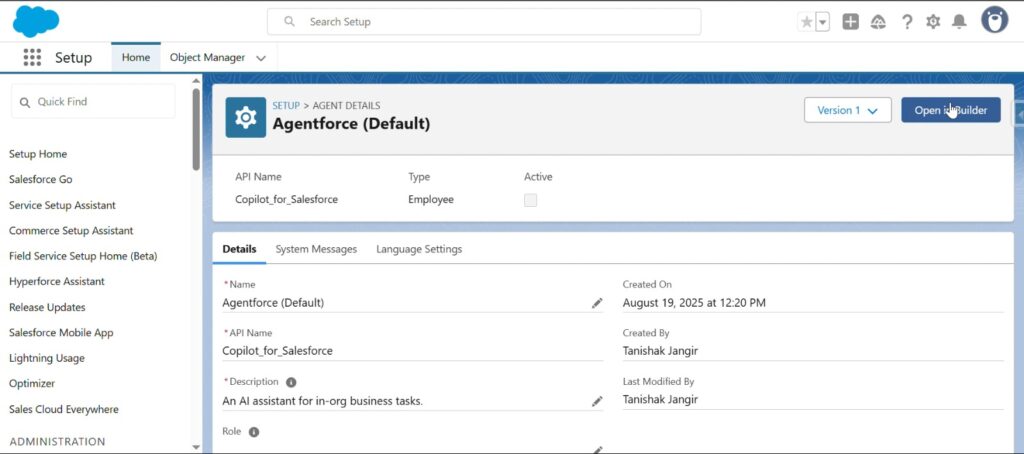
Step 4: Assigning the Library to Your Agent
Now, go back to Agentforce Agents and select your agent.
Next, click Open in Builder.
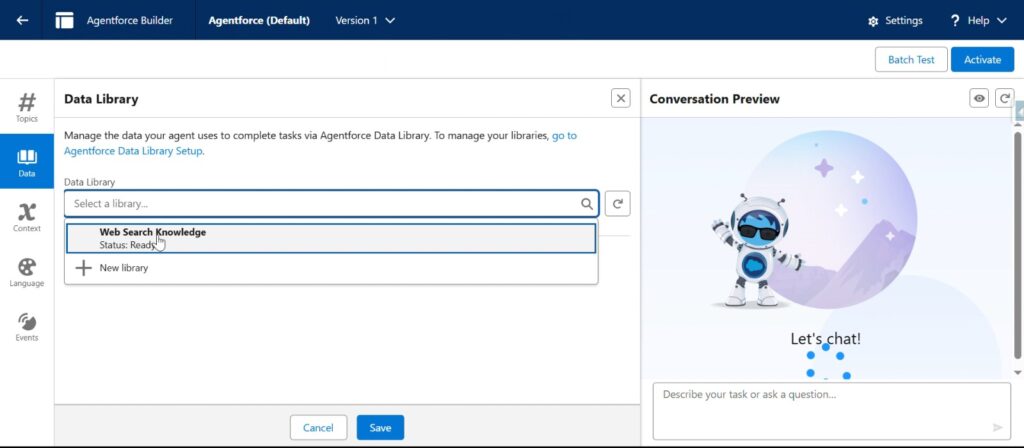
After opening the agent in Agent Builder.
- Select your web search library in the dropdown.
- Save and click Activate.
Note: At this juncture, you can refine how prompts utilize web search by embedding a Web Retriever. In Prompt Builder, insert it into your template to explicitly fetch web-based results during LLM response generation.
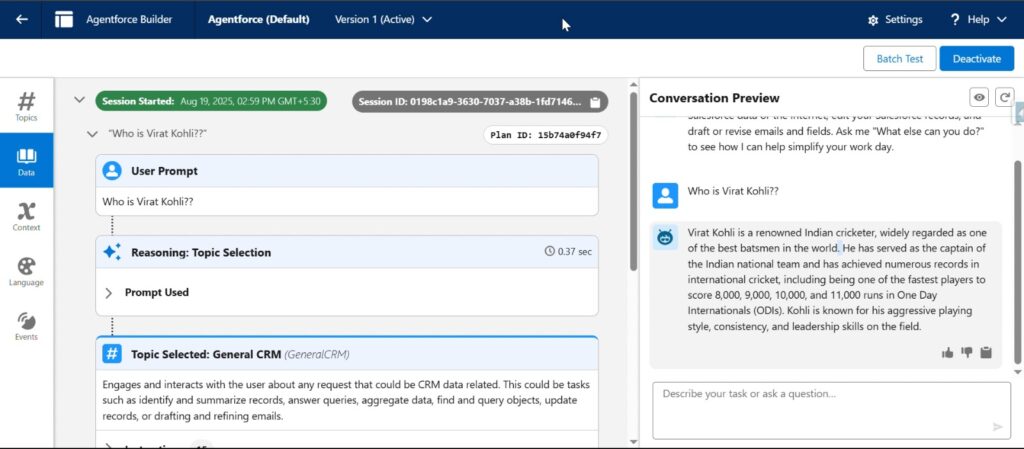
Step 5: Testing the Agent
And lastly, let’s put the agent to the test with a query that requires real-time data.
- Use the Conversation Preview panel in Agent Builder.
- Ask a query that requires up-to-date web content
- Observe the response and see if it’s grounded in web results
Pro Tip:
Be sure to use Salesforce Command Center to track your agent’s behavior and the quality of retrieved results. Also, don’t forget to rewire your web filters or prompt templates from time to time to keep answers relevant and accurate.
Conclusion
Adding Web Search to Agentforce is a straightforward way to level up your AI agents. By combining your CRM knowledge with live internet data, you ensure responses are always timely, accurate, and customer-ready.
If you’re looking to set up Agentforce with real-time web search or extend your AI stack, our experts at Synexc can help. Feel free to reach out!!